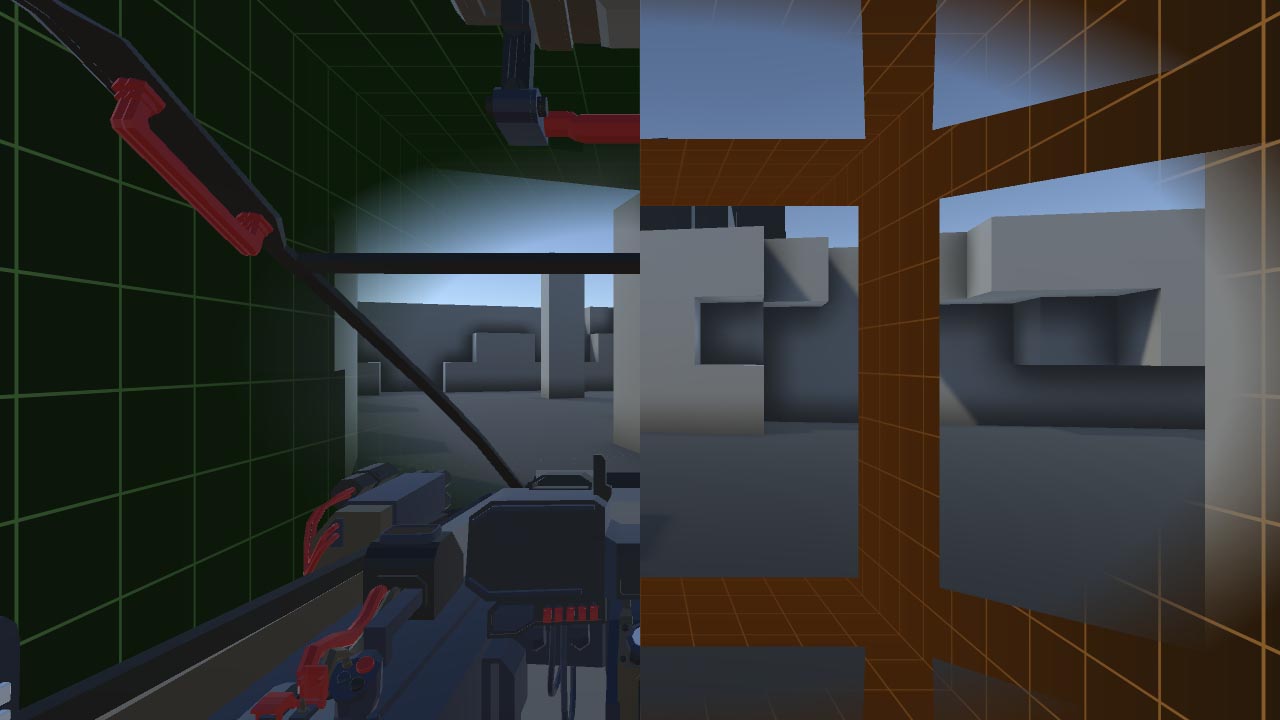
Masking allows control of where the effect appears on screen. The primary use is to exclude certain objects from the effect (see MASK Mode), but it can also be used to provide areas of the effect which appear regardless of motion. These areas can be relative to the user (see WINDOW Mode) or in world-space (see PORTAL Mode).
TIP: WINDOW mode creates the effect described in this Oculus blog post under the heading Window Into the Moving World, while PORTAL mode creates the effect under the heading Portals Into the Static World.
TIP: All Mask Modes can be used with all Background Modes - for example, MASK with BLUR will blur everything in the periphery except masked objects.
To use any of the masking features within an Unreal project, you must enable the stencil features in your UE4 Project Settings.
Open the Project Settings window and select the Rendering tab, under the Engine category. In the details panel, locate the Postprocessing tab and ensure that Custom Depth-Stencil Pass is set to Enabled with Stencil.

Regardless of Mask Mode there are two ways to mask an actor.
The simplest is to add a VRTPMask component to any actor to be masked. The actor must have a mesh component, such as a Static Mesh Component. Note that using this component with an actor allows its masking settings to be updated by the main plugin automatically, including its Stencil Index.
The alternative method is to manually select an actor then enable Render CustomDepth Pass within the Rendering settings and manually set the Stencil Index value that the VRTunnellingPro component is using in the Mask Settings detail panel.


TIP: In the VRTunnellingProMobile component only, all Mask Modes except OFF will disable the Iris Z Rejection optimisation (see Background Modes).
TIP: The mobile version can use MASK, WINDOW and PORTAL modes, but will fall back to a Post Process Material technique which may not be supported on your target devices. Please see the mobile manual page for details.
 Left: MASK mode. Right: WINDOW mode.